Tiana's Famous Beignets were delicious!!! Light, fluffy, square doughnuts, what's not to love? They are my favorite breakfast food! My daughter helped mix the ingredients and pat the dough down, I did everything else. They are not perfect but they were delicious!
We fried them in our deep fryer but they didn't puff how I wanted them to and ended up being a bit lopsided. I think if the dough was thicker it would have been easier to fry them and they may have looked more square. I'll have to try adding some more flour next time.
Here's the recipe we used:
Ingredients:
- 2 3/4 cups flour (and additional for dusting)
- 1/3 cup sugar
- 2 teaspoons baking powder
- 1/2 teaspoon baking soda
- 1/2 teaspoon salt
- 1/2 teaspoon nutmeg
- 1 cup buttermilk*
- 1/3 cup water
- 1 egg, beaten
- 1/2 teaspoon vanilla extract
- Vegetable oil, for frying
- Confectioners’ sugar, for dusting (optional)
- Honey (optional)
Directions:
In a medium bowl, combine 2 3/4 cups of the flour with the sugar, baking powder, baking soda, salt, and nutmeg. Whisk everything together. In a large bowl, whisk together the buttermilk*, water, egg, and vanilla extract. Then mix in the flour mixture. Dust your work surface with some flour and place the dough on it. Pat or roll the dough into a large 1/2 -inch-thick square, you can dust with more flour if it gets sticky. Next, slice the dough into 2 1/2 -inch squares.
To fry the beignets, you can either use a deep fryer or 2 inches of vegetable oil in a heavy saucepan. If you use a saucepan, heat the oil until it reaches 325°F on a deep-fat thermometer and keep an eye on the temperature while cooking and adjust the heat accordingly. Then, carefully drop 2-3 dough squares at a time into the hot oil. Fry them for about 2-3 minutes, turn flip and continue frying for 2-3 more minutes. Using a metal or silicone slotted spoon (plastic could get damaged), transfer the beignets to a wire rack set atop paper towels to drain (if you don't have a wire rack a plate with paper towels on it works). Dust the beignets with confectioners’ sugar or drizzle with honey (or both) and enjoy!
*you can substitute with lemon juice or vinegar and milk. Put 1 tablespoon of vinegar or lemon juice in a measuring cup and fill the rest of the cup to the one cup mark with milk.
Recipe adapted from the book: Disney's The Princess and the Frog Tiana's Cookbook Recipes for Kids. Copyright © 2009 Disney Enterprises, Inc. Published by Disney Press, an Imprint of Disney Book Group.


 I saw this craft on Dollar Store Crafts and I had to make one for my daughter, Katelynn, who is currently in love with VeggieTales! The craft can be found at at http://dollarstorecrafts.com/2009/12/bob-the-tomato-toy/! It only cost $2 and I was able to make one for each my girls, one big and one small.
 Trinket Boxes


 Working on the last details of the Alice costume. I am working on the hand embroidery, quite time consuming. I haven't embroidered in a while so I'm rusty. Even if its not perfect I think it will still look cute :)
 The first sewing project I am going to discuss in the dress I am sewing for my daughter Lexi. We watched 'Tim Burton's Alice in Wonderland' and she has become obsessed and wanted an Alice dress (pictured) so I am making her one. Since there is not a pattern for the new Alice dress or one similar enough for a child yet, I used a pattern for a Cinderella dress and modified it for my needs. So far I have completed sewing the skirt and I have the bodice completed minus the puff sleeves and details. I will add pictures soon of what has been completed.

 Here is my daughter's Alice thus far. I have the completed bodice, minus the puff sleeves, and skirt minus the hemming. I plan on adding the sleeves, sewing the dress together, and hemming tomorrow. Then on to the details. On the bodice, I am adding the buttons, black cording through the lace which will also help the lace lay flat, and I am placing small cording in place of the seams that were too complicated for a child's bodice, since it needs to lay flat and not curved. The skirt has the most difficult details, the black embroidery on the skirt's edge.


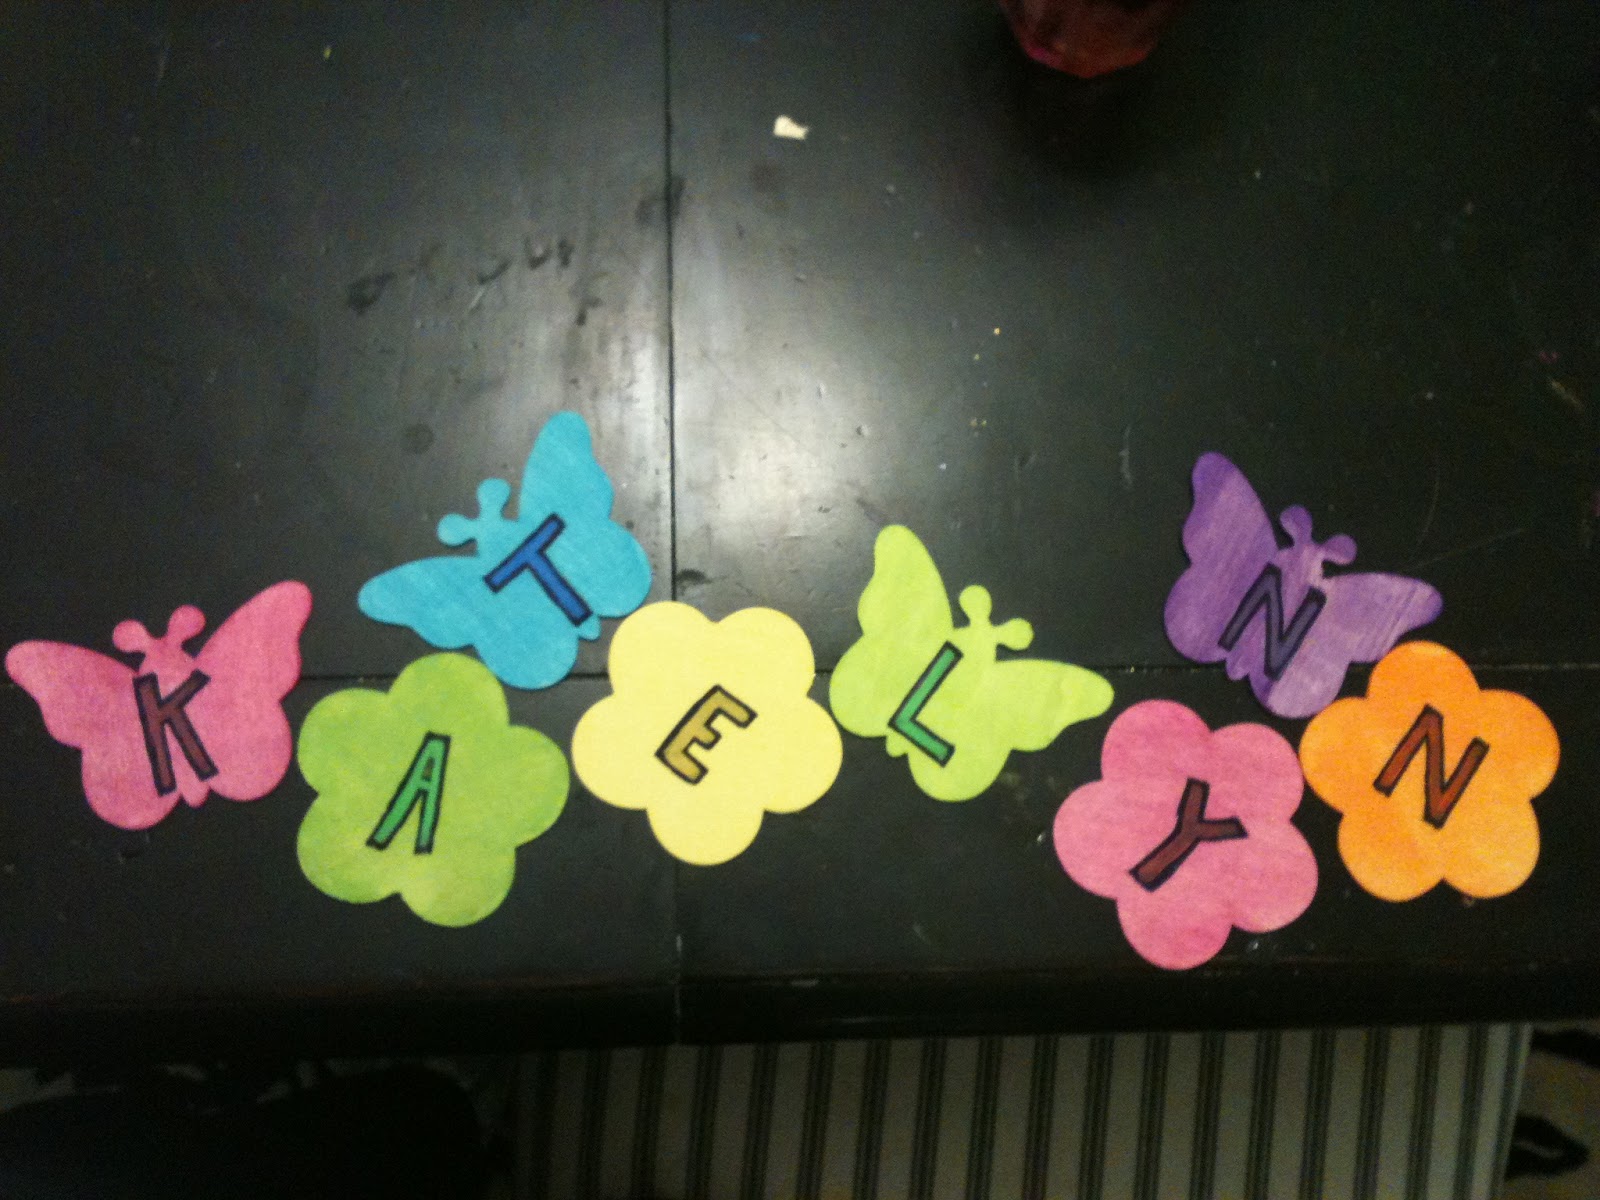
 Name Plaques
 Kids Name Tiles
 Another simple craft. First paint the tiles. Write and/or paint letters on the tiles. Hot glue the tiles to the clothes pins. To hang I used 4 nails and wrapped twine around them to make a long rectangle long enough to hold the name. I clipped the clothes pin to the bottom string and had the top string assure the would remain upwards.
 .JPG) $1 for package of wooden butterfly cut outs
$1 for package of wooden butterfly cut outs


